
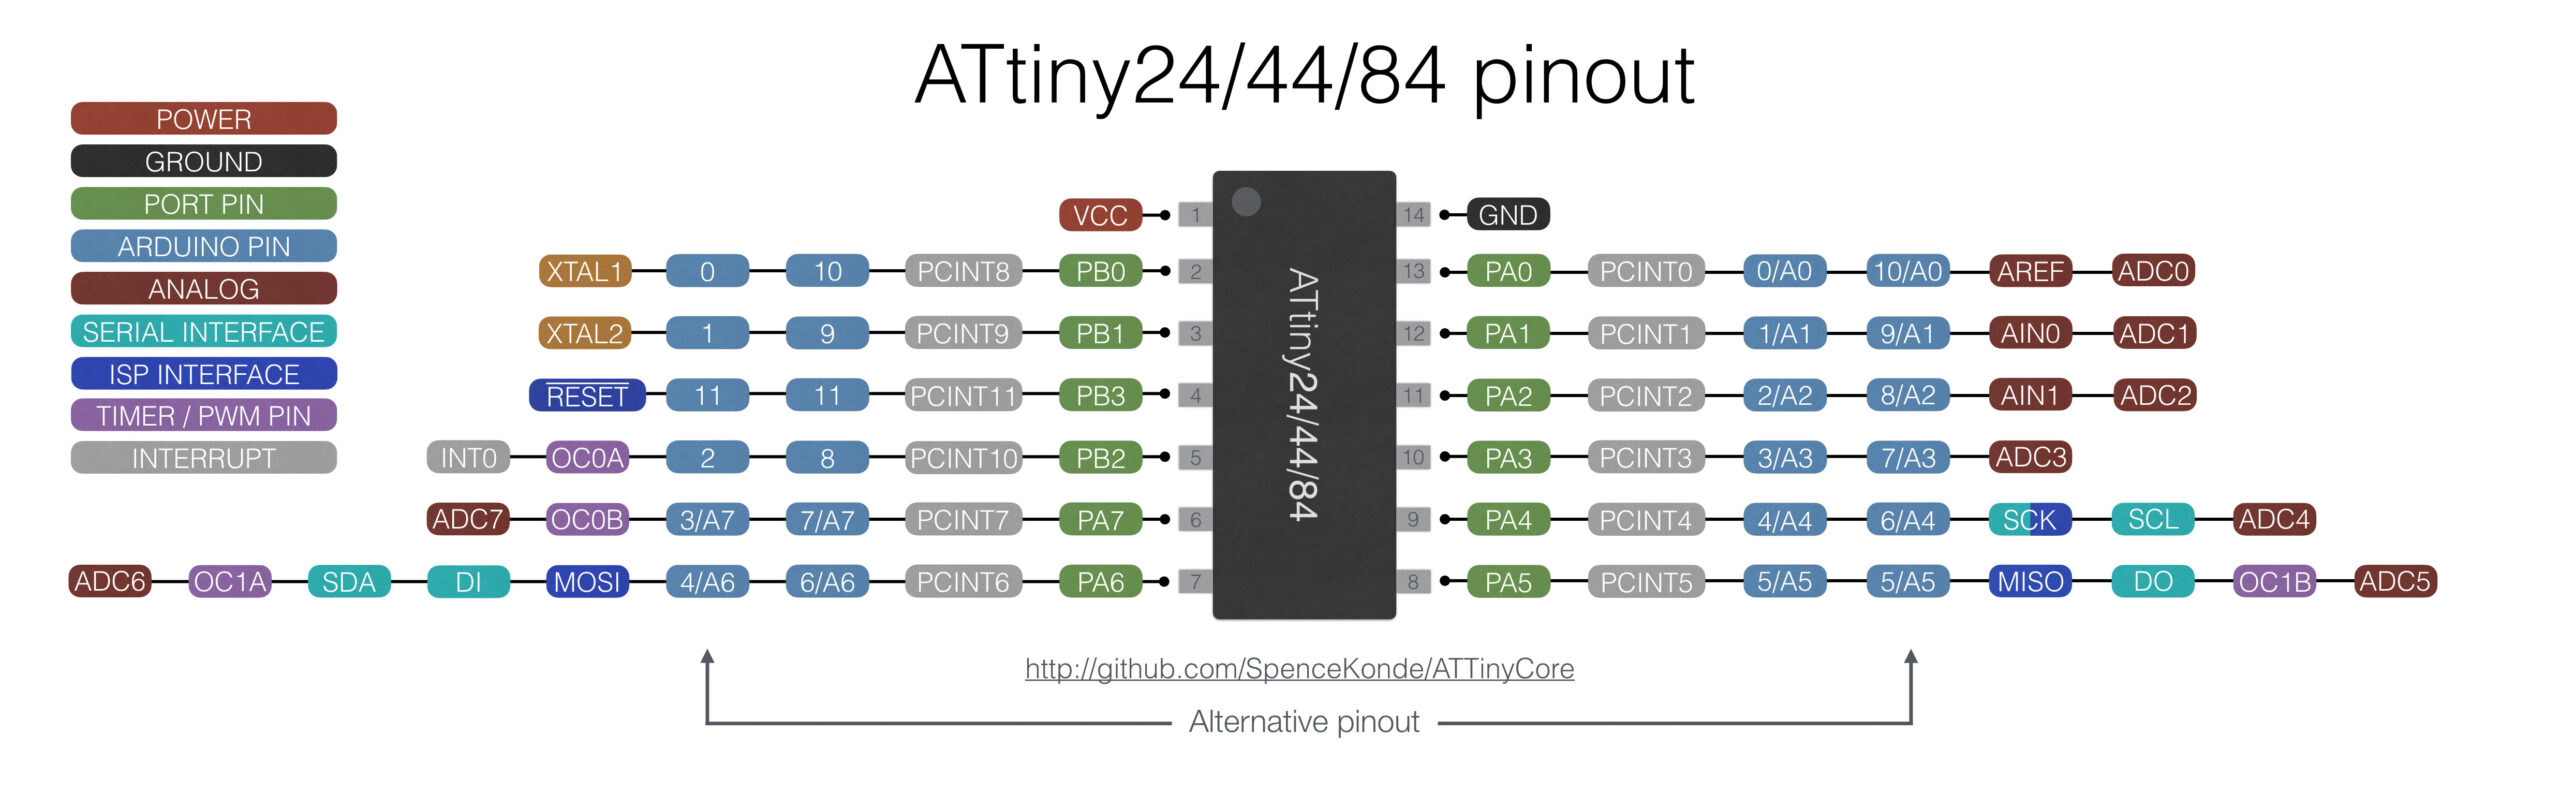
Programming a stand-alone Atmel microcontroller is not that difficult. As it turns out, they are already equipped with programming pins for ICSP, only the pins have to be ‘broken-out’ to a 3×2 header, or wired directly to a neighboring Arduino.
Table of Contents
- Arduino vs solo IC
- In Circuit Serial Programming
- Programmers
- Arduino as ISP
- Fuses and the bootloader
- Making a permanent Arduino as ISP
Arduino vs solo IC
The Arduino is a prototype board focused around the Atmel ATMEGA328 microcontroller. It has multiple features that make life easier for you during development.
One of those features is the ability to upload code using the serial/USB adapter.
That however is only one scenario. There are situation where you might like to use a stand-alone microcontroller, maybe even a different model.
If we go that route, we either need to implement need to implement our own serial/USB interface (which is not even that difficult).
Or we can go the classic route, which is directly programming the microcontroller via the ICSP interface.
In Circuit Serial Programming
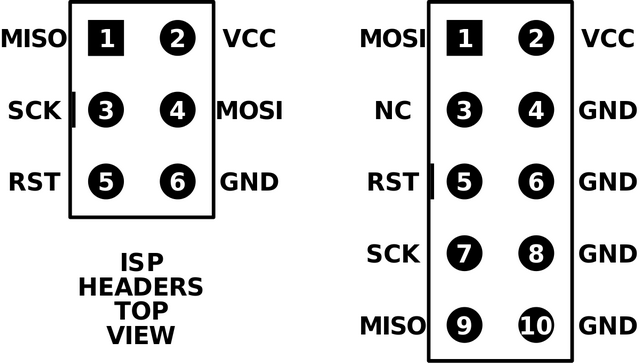
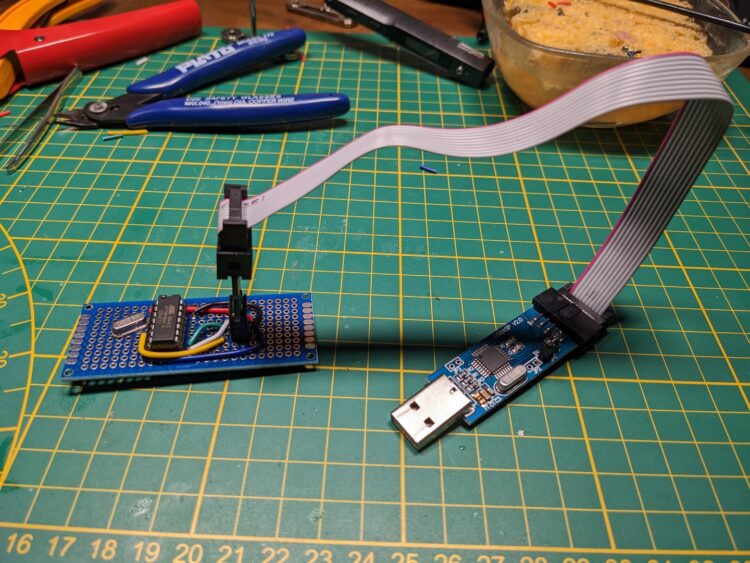
As you can see in the ICSP header image, there are six different pin assignments. These assignments are also present on the IC itself.
So if we want the ability to program over ICSP, we only need to connect the correct leg of the IC to the 3×2 pin header.
That is all it takes to be programmable.
Programmers
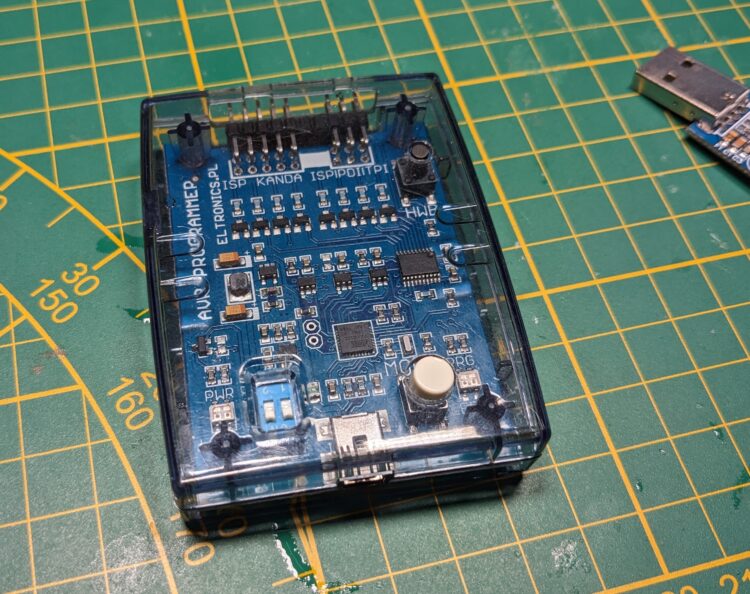
These are the two programmers that I own, and there are more out there.
The second one no longer works. The site with instructions and driver is no longer there.
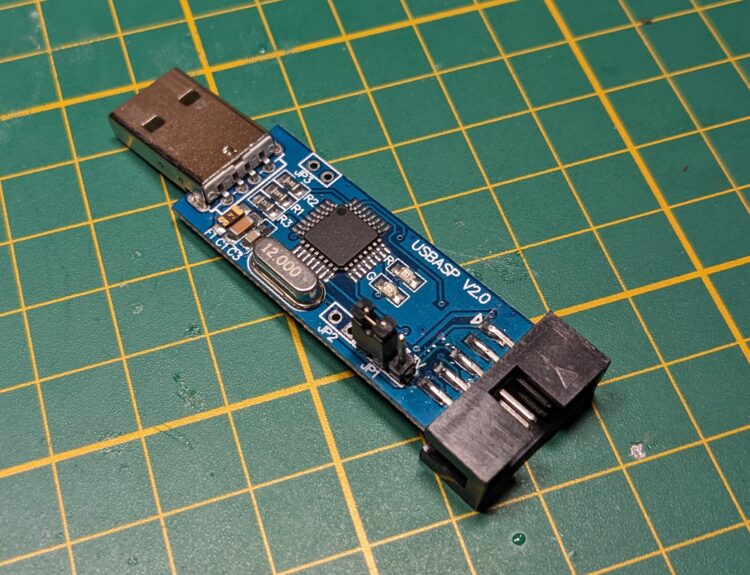
The second one is a USB/ASP. I does require a driver to be installed, but the programmer itself is supported by the Arduino IDE, making it quite simple to upload a sketch.
As you can see, the setup is not to complex to get going, it does however require you to buy a separate programmer. Nowadays these cost less than 10 dollars, but that hasn’t always been the case.
The Arduino’s Serial/USB interface was a clever way of removing a pricey obstacle that could prevent people from starting to explore microcontrollers.
Arduino as ISP
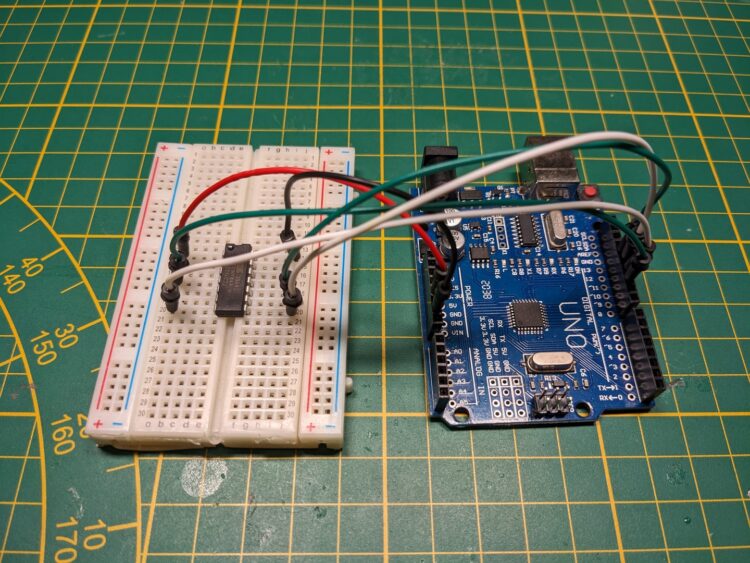
Then there is the alternative that once was a (much) cheaper way of ICSP programming, turning an Arduino UNO into an ICSP programmer.
This is still a fun way to program your Atmel ATMEGA or ATTINY microcontroller, and also free if you already have an Arduino.
There are two downsides also, with lose jumper-wires, it might not always be able to establish a good connection to your microcontroller. And If you by accident click ‘upload’ instead of ‘upload with programmer’, then your Arduino no longer is an ISP and you have to reprogram it again.
Fuses and the bootloader
The Arduino IDE allows us to set fuses, which are settings for our microcontroller. Using and external crystal as a clock frequency for example is such a fuse.
Although the microcontroller does not need a bootloader, you do need to burn one anyway if you want to set fuses. This is because during the upload process of the bootloader, the fuses are also ‘burned’ into the IC.
Making a permanent Arduino as ISP
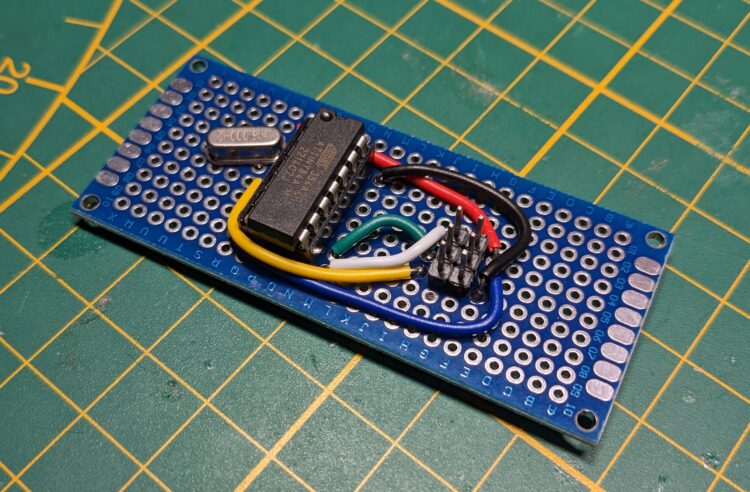
Now this is only one ways of doing this, you can also just have a socket on your circuit board. This gives you the option of just taking out the IC and program it on a different board that you dedicate just for programming.