Combine the ease of programming on a PC with the Arduino’s capability of digital IO, or the Wi-Fi connectivity the ESP boards give us. This utility is the command and control center for your Arduino fleet.
Table of Contents
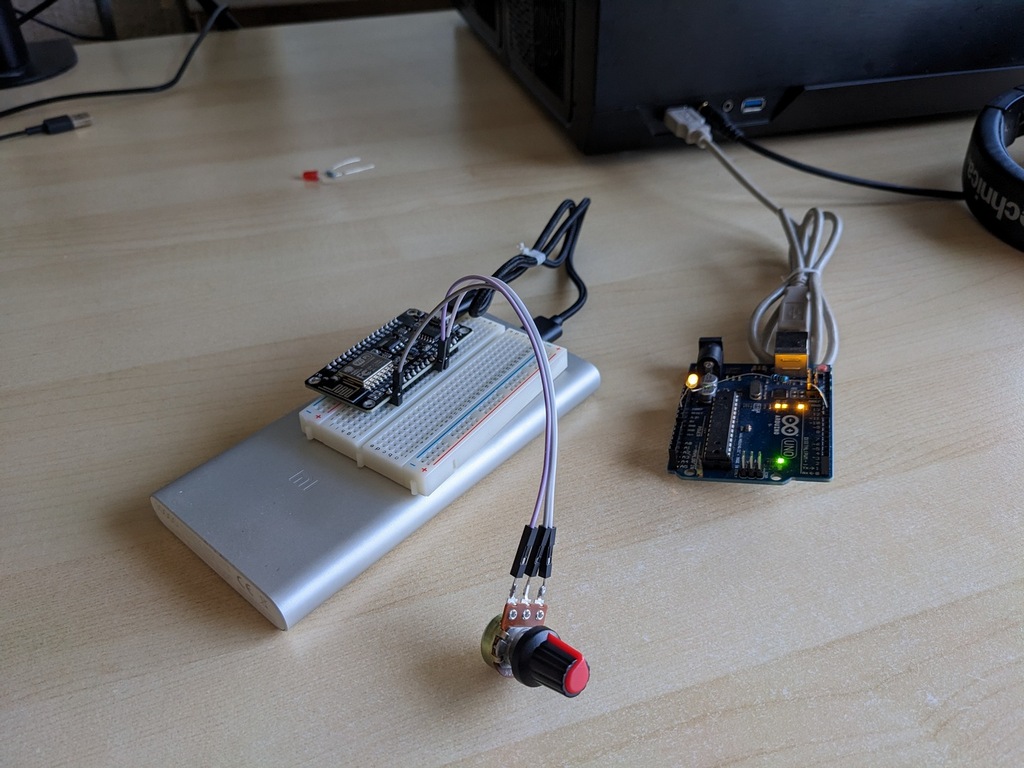
Status
At this point, the project just passed the proof-of-concept stage. I will now focus on adding other functions other than There is more functionality, read about it on the GitHub page.digitalWrite().
GitHub
Please go to the location below to find the project files.
https://github.com/krakkus/PyDuino
Installation
At the GitHub location mentioned above, we can download a zip-file containing the needed files.
pyduino
sketches
.gitignore
main.py
PyDuino
The pyduino folder contains the Python library, copy this folder into your Python project folder.
Sketches
In the sketches folder, we find the sketches for the different kind of boards. At this time, there are two sketches.
pyusb: this one is for connecting over the USB to serial connection, for your Arduino devices.
pywifi: is for connection over Wi-Fi by TCP/IP connection, for your ESP devices.
Have a look at the top of the sketch files before uploading. You can give the device a name there and set connection settings for Wi-Fi.
const char* deviceName = "ESP8266_5"; // Configure the Arduino name here
const char* ssid = "TPLINK01";
const char* password = "1234567890";
Import
One single line to import the PyDuino class from the library.
from pyduino import PyDuino
FindAll()
The following command does a sweep amongst your computer /24 IP subnet. If your computer and ESP devices share the same network, this will probably work just fine. It will also take a look at all your com-ports and devices attached to it.
When that is done, you will receive a complete list of all devices found. This is a list of objects of the PyDuino class type.
import time
from pyduino import PyDuino
def main():
    devices = PyDuino.FindAll()
    for d in devices:
        print(d)
        print(d.address, d.name)
        print()
if __name__ == '__main__':
    main()
This will give us the following output. For each device, the returned object, the connection object, and the name of the device.
<pyduino.pyduino.PyDuino object at 0x0000017CBE49DD60>
192.168.1.12 ESP8266_1
<pyduino.pyduino.PyDuino object at 0x0000017CBE495E80>
COM3 NANO_1
digitalWrite()
At present time, I only have a single function implemented, so let’s expand the code to use that one.
import time
from pyduino import PyDuino
def main():
    devices = PyDuino.FindAll()
    for d in devices:
        print(d)
        print(d.address, d.name)
        print()
    v = 1
    while True:
        if v == 1:
            v = 0
            print('OFF ', end='')
        else:
            v = 1
            print('ON ', end='')
        for d in devices:
            d.digitalWrite(13, v)
        time.sleep(1)
if __name__ == '__main__':
    main()
Which, after finding all devices, will output a continues stream of ON and OFF tokens.
The device, at the same time, sets the configured pin to either high or low, as you can see in the video linked below.